Wine Tasting Step by Step (A Simple Method Anyone Can Use)
Wine tasting can feel confusing at first. People swirl, sniff, and toss out words like “minerality,” and you’re left wondering if you’re supposed to taste what they taste.
Here’s the good news: wine tasting step by step isn’t about being right. It’s about paying attention. With a repeatable method, you’ll notice more, describe wine with confidence, and figure out what you actually like.
In this guide, you’ll learn how to set up a tasting, how to look, smell, and taste on purpose, plus basic etiquette and the most common mistakes that flatten flavor.
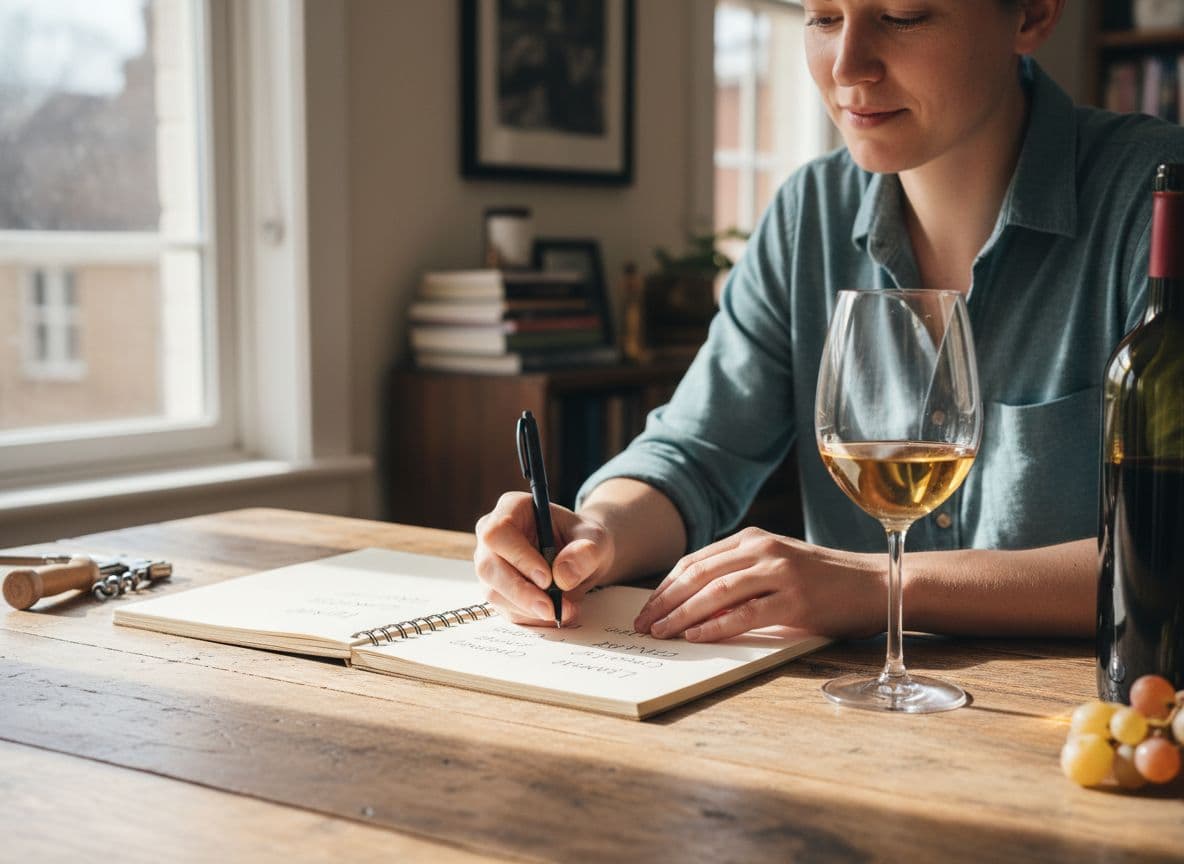
Get ready for a great tasting (simple setup and tools)
A good tasting has one goal: reduce distractions so aromas and flavors are easier to spot. You don’t need special training, you just need a calm setup and a steady pace.
At home, pick a spot with decent light and a clean-smelling room. At a winery, the same rules apply, keep your attention on the glass, and give yourself time. If you feel awkward, remember that tasting rooms are built for beginners too. Staff members usually love simple questions and honest reactions.
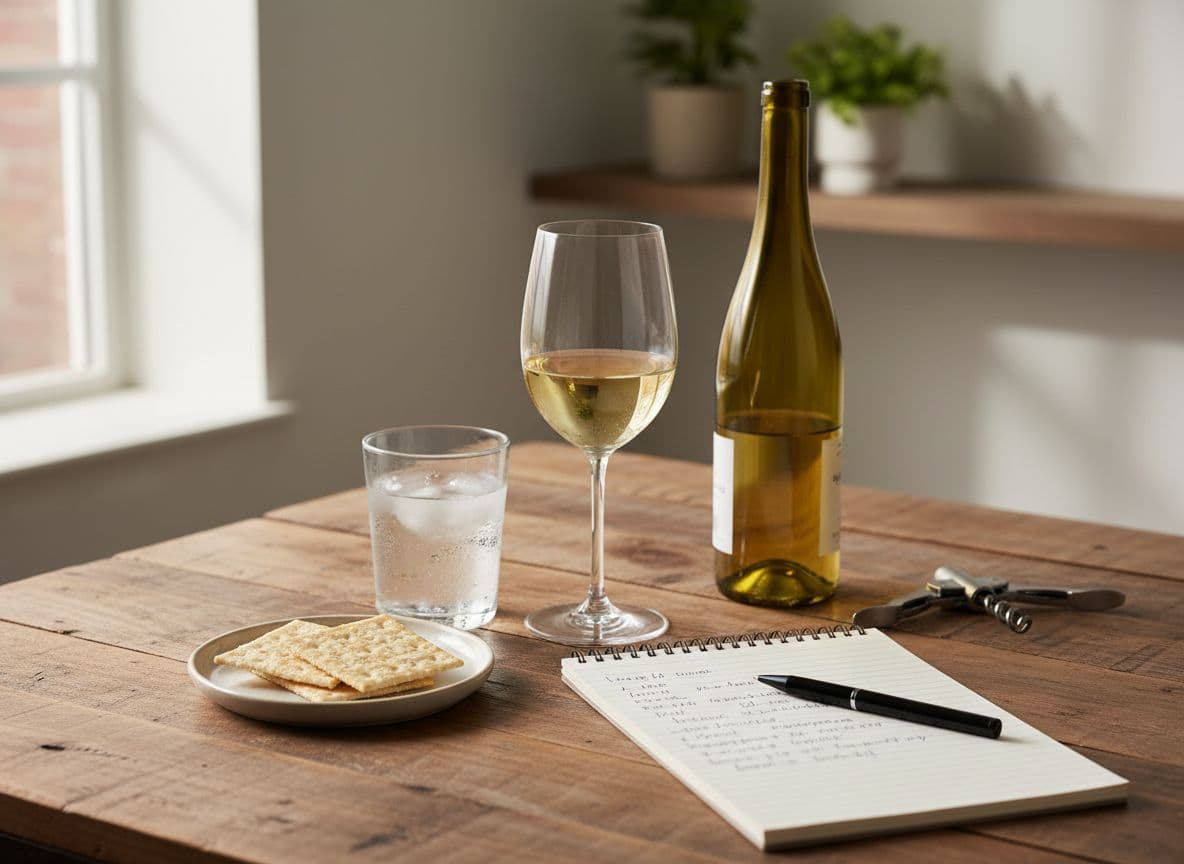
What you need: glass, water, light snacks, and a note sheet
Keep it simple. A few basics make a bigger difference than fancy gear.
Essentials
- One clear wine glass per person (a basic all-purpose wine glass works)
- Water (still, not flavored)
- Plain bread or crackers
- Pen and paper, or phone notes
- A spit cup, if you’re tasting several wines or driving
Nice-to-haves
- A white napkin or sheet of paper (for checking color)
- A second glass (helpful if you’re comparing two wines side by side)
Try to avoid anything that hijacks smell or taste right before you start. Perfume, scented candles, strong hand lotion, and spicy food can drown out aromas fast.
Serving basics: temperature, pour size, and tasting order
Temperature changes what you notice. Too warm and a wine can taste hot and boozy. Too cold and aromas can feel muted, like music played at low volume.
Use simple rules:
- Sparkling and crisp whites: well-chilled, straight from the fridge
- Fuller whites and rosé: cool, not ice-cold
- Reds: slightly cool, not warm room temperature (many rooms are warmer than “cellar temp”)
Pour small. A tasting pour is about 1 to 2 ounces, enough to swirl and sip without rushing.
If you’re tasting multiple wines, order matters. Go from lighter to heavier so the bold ones don’t drown out the rest: Sparkling, light white, fuller white, rosé, light red, full red, then sweet or fortified.
Wine tasting step by step: look, swirl, smell, sip, and decide
Think of tasting like reading a short story. The first page is appearance, the middle is aroma and flavor, and the ending is the finish. You’re not hunting for secret notes. You’re collecting clues.
If you want a small “vocabulary bank” that won’t sound stiff, borrow words from everyday life. Fruit, flowers, herbs, baking spices, fresh bread, smoke, leather, mushroom. If it reminds you of something, it counts.
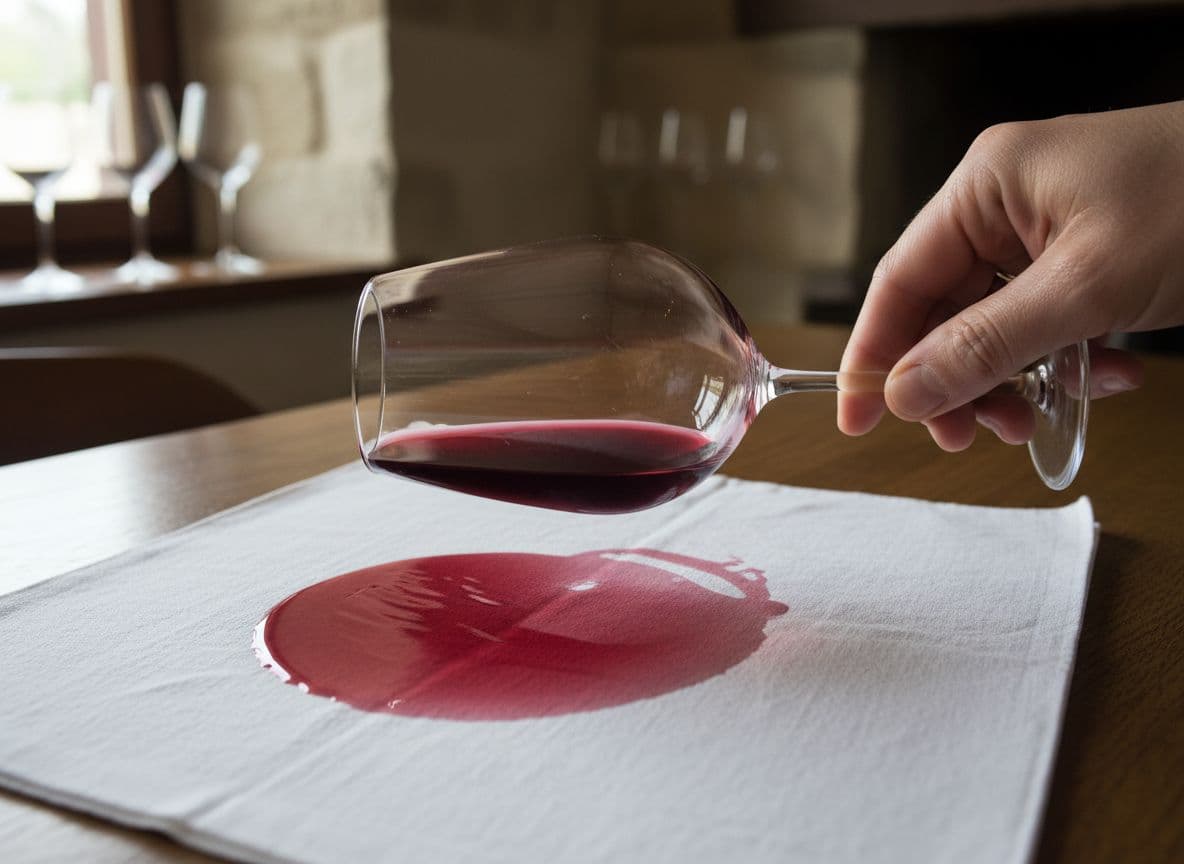
Step 1: Look at the color and clarity for quick clues
Hold the glass by the stem, then tilt it over a white surface (a napkin works). Look at two areas: the center of the wine and the rim.
Notice:
- Color: pale lemon, gold, pink, ruby, deep purple, garnet
- Intensity: watery, medium, inky
- Clarity: clear, hazy (some unfiltered wines look a bit cloudy)
Color can hint at style and age. Many white wines deepen from pale yellow toward gold with age. Many red wines shift from bright ruby toward garnet or brick at the rim as they get older. Don’t treat these as hard rules, just quick context.
If you see bubbles in a still wine, that can be a sign it’s slightly fizzy or it was bottled with a little trapped carbon dioxide. That’s not always a problem, but it’s worth noting.
Step 2: Swirl to open up aromas (even if you feel silly)
Swirling looks fancy, but it’s just a quick way to move air into the wine and lift aromas up into the glass.
A safe method: keep the base of the glass on the table and make small circles. Start slow. The wine will climb the sides, then slide back down. That motion helps aroma compounds escape.
If you’re tasting sparkling wine, you can skip the swirl or do it very gently. A strong swirl knocks out bubbles fast and can make it harder to judge the wine’s freshness.
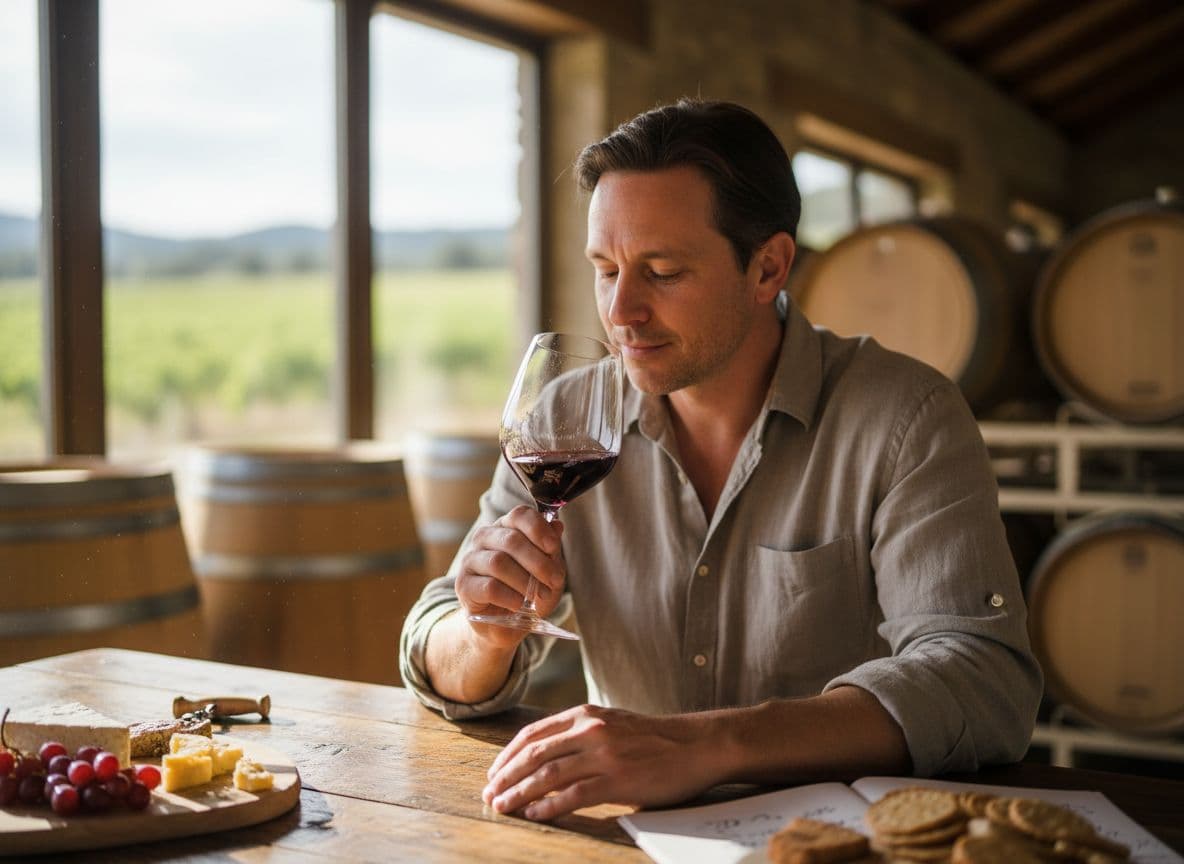
Step 3: Smell in two passes and name what you notice
Smell does most of the heavy lifting. A lot of “taste” is really aroma traveling up the back of your nose.
Use a two-pass sniff:
- First sniff (short): get the overall vibe. Fresh? Ripe? Bright? Sweet-smelling?
- Second sniff (deeper): after a swirl, look for specific notes.
It helps to sort aromas into simple buckets:
| Aroma type | Common examples |
|---|---|
| Fruit | apple, pear, lemon, peach, cherry, blackberry |
| Floral | rose, violet, orange blossom |
| Herbal, green | grass, mint, bell pepper |
| Spice | black pepper, cinnamon, clove |
| Oak, toast | vanilla, cedar, toast, smoke |
| Earthy, savory | mushroom, wet stone, leather |
Also learn a couple of “something’s off” smells so you don’t second-guess yourself:
- Wet cardboard or damp basement can point to cork taint (often called TCA).
- Sharp vinegar can signal a wine that has turned.
Keep notes short. Write 2 to 4 words you can defend, like “lemon, green apple, wet stone” or “cherry, vanilla, toast.” You can always add more later.
Step 4: Sip, let it coat your mouth, then notice structure
Take a small sip and let it move across your tongue. If you’re comfortable, pull in a tiny bit of air through your lips. It can lift aroma and make flavors clearer. No need to make it loud.
As you taste, focus on the “big 5.” These are the bones of the wine, the parts that stay consistent even when flavors change.
Sweetness: dry, off-dry, sweet. Dry wines can still smell fruity, so trust your tongue more than your nose.
Acidity: the mouthwatering, cheek-squeezing feel. High-acid wines often feel fresh and bright. Low-acid wines can feel round and soft.
Tannin (mostly in reds): the drying, grippy feel on your gums and tongue, like strong tea. More tannin often means the wine feels firm or structured.
Body: light, medium, or full. Think of the weight of skim milk versus whole milk.
Alcohol: warmth in the throat or chest. If it feels hot, the wine might be too warm, or it might simply be high alcohol.
Then notice the finish, how long the flavor stays after you swallow (or spit). A short finish fades fast. A long finish hangs around and changes.
Step 5: Describe and rate it in plain language
Good tasting notes don’t need fancy words. They need clarity.
Try this simple sentence and fill in the blanks: “This wine smells like ___, tastes like ___, feels ___, and I like it because ___.”
Examples:
- “Smells like lemon peel and grass, tastes like grapefruit, feels light and crisp, I like it because it’s refreshing.”
- “Smells like cherry and vanilla, tastes like plum and cocoa, feels medium-bodied with drying tannin, I like it with food.”
For rating, skip the math if you want. A simple scale keeps you honest:
- Love it
- Like it
- Not for me
Preference is valid. If you don’t like high tannin reds or sweet whites, that’s not a flaw, it’s a map.
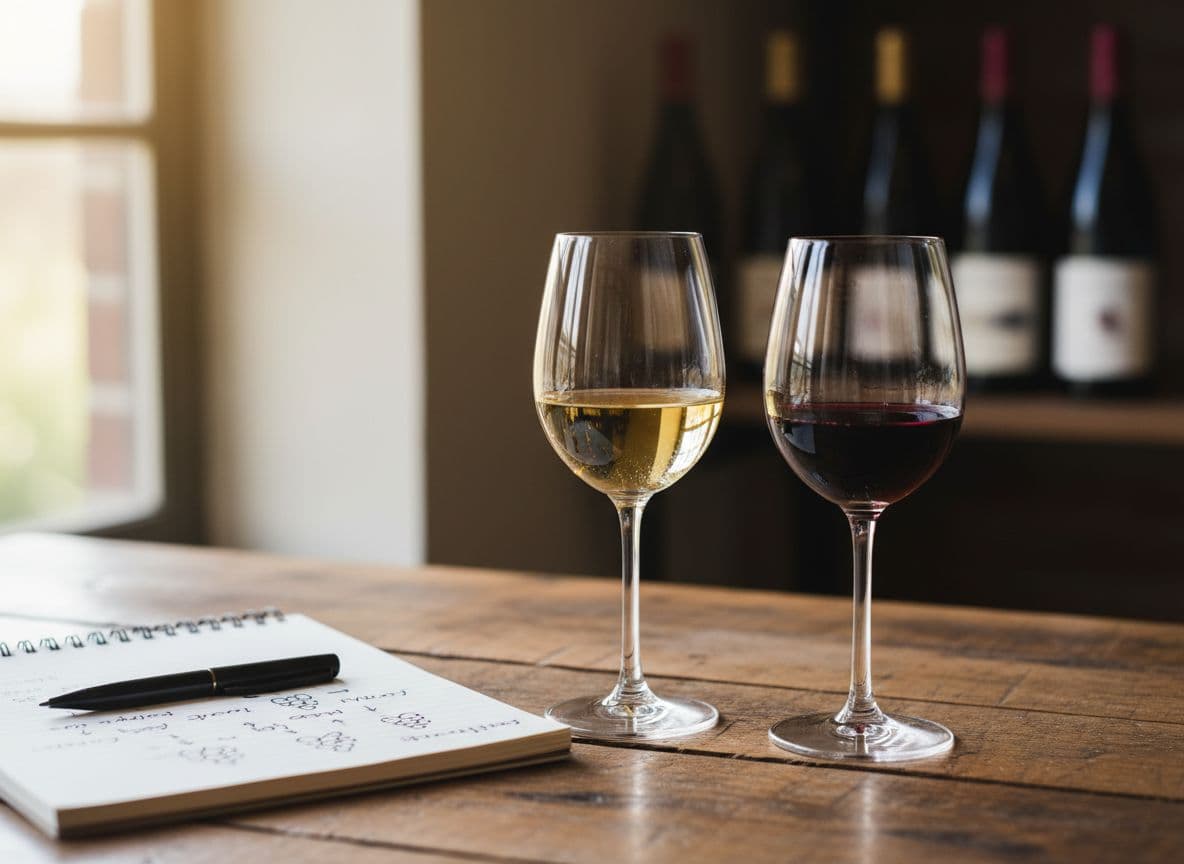
How to compare wines like a pro (without memorizing facts)
The fastest way to learn wine is to compare. Your brain spots contrast better than it spots isolated details. Two similar wines can teach you more than ten random bottles.
Keep it small, two to four wines is plenty. Pour small, taste in the same order each time, and take quick notes.
Try a mini flight: same grape, different regions, or different price points
Here are a few easy flight ideas you can do at home:
Pinot Noir from two places: Try one from California and one from Oregon (or a different country if you prefer). Notice color, tannin, and whether the fruit feels bright or ripe.
Sauvignon Blanc in two styles: Pick two bottles with different winemaking choices (one that tastes very crisp and citrusy, another that feels rounder). Compare aroma intensity and texture.
$15 versus $30 of the same type: Choose the same grape and compare. Don’t assume the pricier bottle wins. Pay attention to balance, finish, and how “complete” the wine feels.
When you compare, focus on a few anchors: aroma strength, acidity, tannin (if present), body, and finish length. Those are easier to track than chasing rare flavor notes.
Use a simple tasting note checklist to stay consistent
A checklist keeps you from drifting into vague notes like “good” or “strong.” Copy this into your phone and reuse it:
- Appearance (color, clarity)
- Aroma intensity (low, medium, high)
- Main aromas (2 to 4 words)
- Sweetness (dry to sweet)
- Acidity (low to high)
- Tannin (low to high, if red)
- Body (light to full)
- Flavor notes (2 to 4 words)
- Finish (short, medium, long)
- Overall (love it, like it, not for me)
One extra habit helps a lot: take a quick photo of the label. You’ll thank yourself later when you want to buy it again.
Common wine tasting mistakes and easy etiquette tips
Most tasting slip-ups are simple. They don’t make you look silly, they just make the wine harder to read. Fix a few habits and you’ll taste more right away.
Mistakes that hide flavor: too much perfume, big sips, and skipping water
Strong scent is the big one. Perfume and cologne sit in the air and cling to glassware. Even scented lip balm can change what you smell.
Big sips can also blur detail. Wine hits your mouth like a wave, and you miss the smaller textures. Small sips give you time to notice sweetness, acid, tannin, and finish.
Water matters more than people think. Tasting dries out your mouth, and dehydration makes everything feel sharper and less pleasant. Sip water between wines, and take short breaks if your palate feels tired.
Spitting is normal in tastings with many pours, especially if you’re driving or sensitive to alcohol. It’s not rude. It’s how you stay alert enough to taste the last wine as well as the first.
Winery tasting room basics: how to ask questions and pace yourself
Tasting rooms can feel formal, but the best approach is relaxed and curious.
A few easy lines that work almost anywhere:
- “What should I notice in this wine?”
- “Is this aged in oak, or kept in stainless steel?”
- “What foods do you like with this one?”
Hold your glass by the stem or base so your hand doesn’t warm the bowl and so you don’t smudge the glass. Taste at your own pace, you don’t need to match anyone else.
Tipping varies by region and policy. If there’s a tip jar or a service fee, follow the room’s lead. If someone spends extra time helping you learn, it’s reasonable to show thanks, either with a purchase or a tip, depending on the setting.
Conclusion
Wine tasting gets easier when you follow the same loop every time: look, swirl, smell, sip, describe. That’s the whole method, and it works at home, at a winery, or at dinner with friends.
Grab one bottle this week, pour a small glass, and write a few notes you can understand later. Then try a two-wine comparison and save your notes. The next time you taste, you’ll have proof that your palate is getting sharper, one sip at a time.