
Step by Step Winemaking Process (Beginner’s Guide to Making Wine at Home)
Turning grapes into wine is a hands-on process that mixes science with a bit of patience. Whether you’re a new hobbyist or just curious about what fills your glass, knowing each step gives you a real sense of what goes into every bottle.
Winemaking is more than picking grapes and waiting for them to ferment. Each part of the process, from crushing to bottling, plays a role in how wine tastes and smells. Understanding the basics can help you get started at home or simply appreciate wine on a deeper level.
This guide covers every stage in clear, simple steps. You won’t need fancy equipment or deep technical knowledge. By the end, you’ll see how easy and rewarding it can be to make your own wine, or just talk wine with more confidence.
![]()
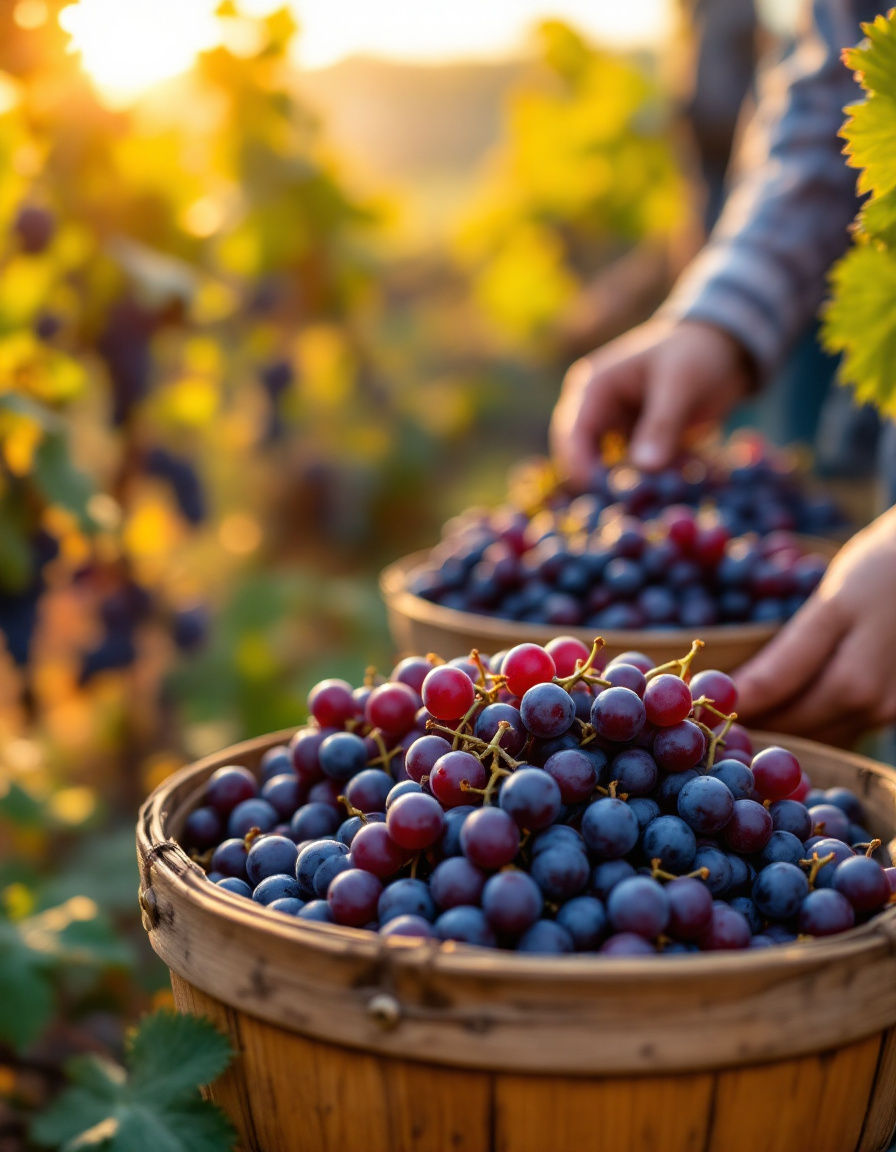
Harvesting and Selecting Grapes
The journey from grape to glass starts long before any grape meets the press. Harvesting and selecting grapes is where you shape the flavor, aroma, and color of the finished wine. The grape variety, when they’re picked, and how they’re gathered will all show up in your first sip.
Choosing Grapes for Quality and Ripeness
High-quality wine always begins with great grapes. Not all grapes are equal and not every cluster is perfect for winemaking. To pick the best, growers watch for signs of ripeness: deep color, full seeds, and sweet, complex flavors. Softness matters too. If grapes are too hard, they haven’t ripened enough, but if they’re mushy, they’ve gone too far.
Winemakers often sample grapes from several vines to judge overall readiness. They use taste, but sometimes also measure sugar (called Brix), acidity, and pH. Grapes with the right balance make wine that tastes rich and true to type, not flat or too sharp.
Here are some quick markers of grapes ready for harvest:
- Rich color, uniform across the bunch
- Plump, juicy texture
- Seeds browned, not green
- Sweet with a hint of tartness
- Full aroma, true to the grape type
Timing the Harvest
There’s no substitute for perfect timing when picking grapes. Weather, type of grape, and winemaker goals all guide the decision. Pick too soon and you get tart, thin wine. Wait too long and the flavors turn jammy or the wine tastes heavy.
Harvest usually happens in the cool early hours. This keeps the fruit firm and helps protect the delicate juice inside. Each wine style needs a certain balance, so timing matters even more if you want a bright white, a bold red, or anything in between.
Timing can make the difference between good and great. A week too early or late can change the wine’s whole character.
Hand-Picking vs. Machine Harvesting
How grapes are picked affects both quality and cost. Hand-picking is gentle and lets workers select only the best bunches, leaving out any unhealthy or underripe grapes. It works well in small vineyards or on steep hills where machines can’t go. Hand-picking costs more and takes longer, but gives a cleaner batch of fruit.
Machine harvesting is much faster and less costly. A machine shakes the vines to knock off grapes. This has its pros and cons:
- Pros: Cheaper, faster, good for large flat fields
- Cons: Can damage grapes, sometimes mixes in leaves and stems, less selective
Some winemakers even mix the two methods. They may hand-pick for their premium wines but use machines for basic blends.
How Grape Variety and Quality Shape Your Wine
Every wine starts with a grape’s DNA. The variety you choose shapes the core flavors and aroma. Cabernet Sauvignon, for example, brings bold fruit and tannin, while Riesling leans toward crisp and flowery. Each one needs a unique growing season and picking schedule for best results.
High-quality grapes mean fewer issues down the road. Better grapes need less fixing in the winery. They ferment cleanly and keep their character in the bottle. In short, the wine you end up with will only be as good as the grapes you started with.
Here’s a simple table showing how grape selection can influence the style of your wine:
| Grape Variety | Picking Status | Wine Style Taste Profile |
|---|---|---|
| Chardonnay | Early | Crisp, light, higher acidity |
| Chardonnay | Late | Rich, tropical, softer acidity |
| Cabernet Sauvignon | Just ripe | Bold, structured, bright fruit |
| Cabernet Sauvignon | Overripe | Jammy, soft, lower acidity |
Your choice of grapes and how you harvest them does more than fill your basket—it sets the whole stage for the flavors you build in your wine.
Crushing, Destemming, and Pressing
After choosing and picking the best grapes, the real hands-on part of winemaking begins. These next steps shape the raw fruit into what starts to look and taste like wine. The process involves removing stems, breaking open the grapes, and separating juice from skins and seeds. Each move affects color, texture, and the kind of wine you get.
Destemming: Removing the Bitter Bits
Destemming means taking the stems off the grape clusters before anything else happens. Stems are tough and bring out bitter, green flavors if they end up in the wine. Removing them gives you more control over taste and texture.
Today, most home winemakers and wineries use machines built just for this. The machine gently knocks the grapes off the stems and keeps the berries mostly whole. It’s fast and clean. If you do this by hand, you twist and pull the berries off each bunch—a slow job that works for small batches.
Leaving some stems can add bite and texture to certain red wines, but you have to know what you’re aiming for. Most white and rosé wines get destemmed for a clean, fresh flavor.
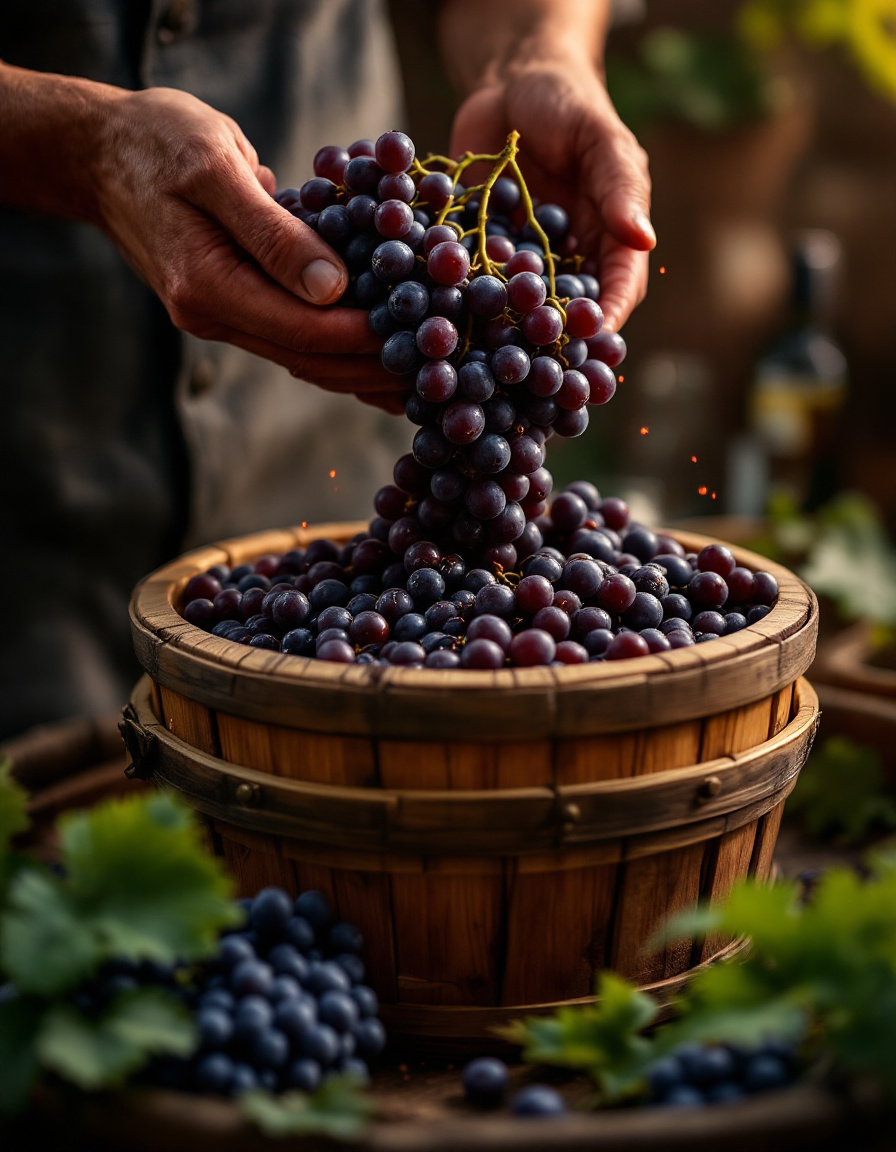
Crushing: Breaking Open the Fruit
Once the grapes are off their stems, it’s time to crush them. This cracks the skins and lets the juice and pulp flow out, mixing with natural yeast from the grape surface. Crushing is less about smashing and more about gently opening the grape. You don’t want to break the seeds, as they carry bitter tannins that can overpower your wine.
How crushing happens has changed a lot over time:
- Manual: People used to crush grapes by stomping on them or with simple wooden tools.
- Modern: Most home winemakers now use small hand-crank or electric crushers that process fruit quickly without squashing the seeds.
Crushing freshens up the smell of the grapes and signals the start of real winemaking. Reds, whites, and rosés may use different amounts of pressure for the results they want.
Pressing: Separating Juice from Skins
Pressing is when you squeeze the crushed grapes to get out the juice. The way you press and what you press makes a big difference based on the style of wine you want.
- For Red Wine: Usually, the skins stay in the juice for a while before pressing. This is called maceration. The juice soaks up color, flavor, and tannin from the skins. Later, pressing separates the liquid from skins and seeds.
- For White Wine: The grapes get pressed right after crushing. The juice goes in one direction, and skins and seeds go in another. Little to no contact means the wine keeps its pale color and crisp taste.
- For Rosé Wine: This sits between red and white methods. The juice stays in contact with skins for just a short time, enough to pick up some color but not all the deep flavors or tannins from red wine.
There are a few ways pressing happens:
- Traditional Basket Press: This uses a hand-cranked or lever-driven press. Grapes go inside a basket, and you slowly squeeze out the juice.
- Modern Bladder Press: A more recent option uses an inflatable bladder that gently squeezes grapes from the inside out. It’s quick, gentle, and easy to clean.
Here’s a quick table showing the pressing methods and their basic results:
| Wine Style | Pressing Time | Contact With Skins | Juice Color/Flavor |
|---|---|---|---|
| Red | After fermentation | Extended | Dark, tannic, rich |
| White | Before fermentation | Minimal | Pale, fresh, crisp |
| Rosé | Short, before ferment | Limited | Pink, fruity, light |
Equipment has come a long way, making things easier and cleaner than the old hand methods. Beginners can still start small—the key is to be gentle and let the grapes do most of the work.
In these steps, you start to see why winemaking is as much about working with nature as it is about following instructions. How you treat your grapes at this stage sets the stage for everything that comes next.
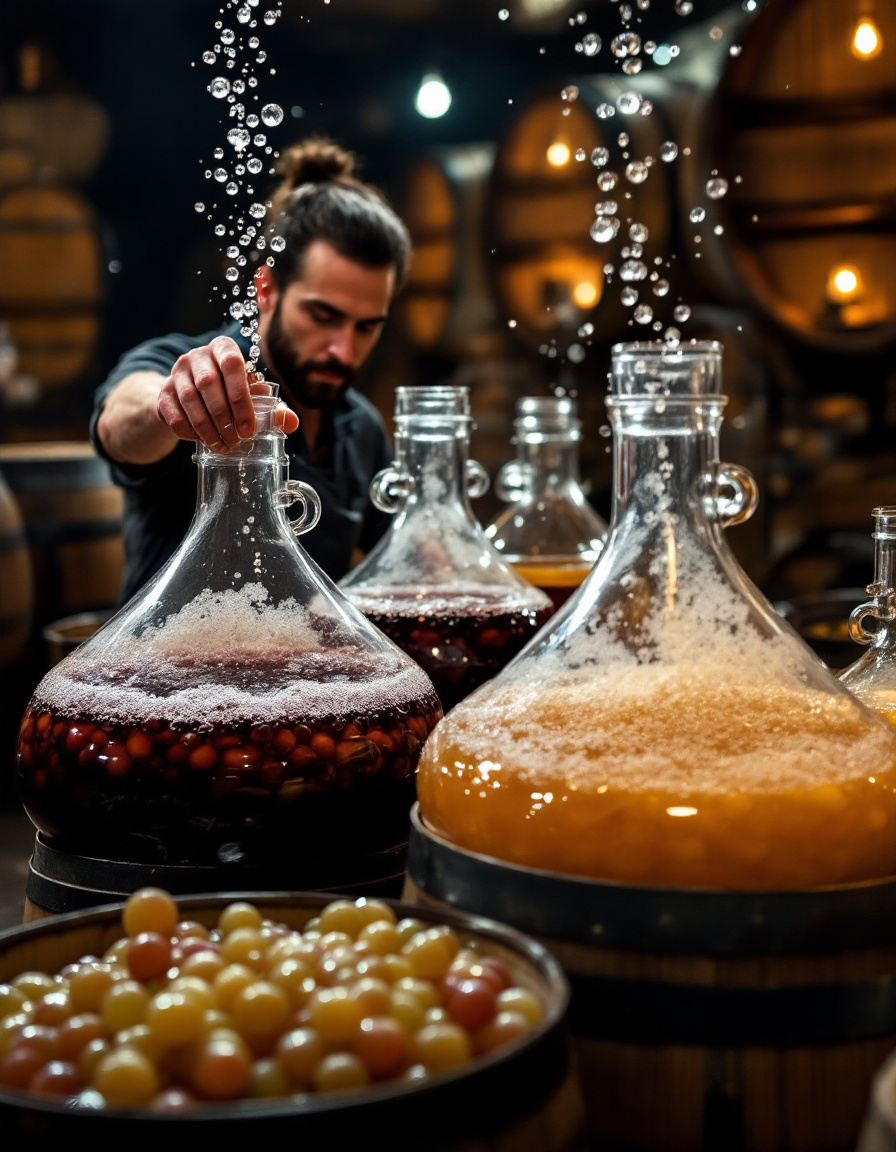
Fermentation: Turning Juice into Wine
The heart of winemaking flips the switch from sweet grape juice to real wine. Fermentation is where sugar meets yeast and you get the buzz and character that make wine, well, wine. This stage changes everything, so getting it right makes a real difference in your finished bottle.
After pressing, the juice moves to a fermentation vessel. This could be a classic oak barrel, a big steel tank, or even a simple food-safe bucket at home. The juice is ready for the action that gives wine its flavor, aroma, and alcohol.
Yeast is the main player here. Sometimes, winemakers let wild yeast from the grape skins work on its own (this is called spontaneous fermentation). More often, they add a special wine yeast, measured out like a baker adds yeast to bread. This gives more control, lifting fruit flavors and leading to a cleaner result.
The basic job of yeast is to eat sugar and spit out alcohol and carbon dioxide:
- Sugar + Yeast = Alcohol + CO2 + Heat
That’s it. The more sugar in the juice, the more alcohol in the end. This isn’t just random science—too much sugar or too much heat can throw things off balance. Most winemakers keep fermentation cool and steady for whites (about 55–65°F), and a bit warmer for reds (sometimes up to 85°F). Sparkling wines often ferment cool as well to lock in bubbly freshness.
Here’s how fermentation usually looks for different kinds of wine:
| Wine Style | Typical Ferment Temp | Skin Contact | Resulting Wine Traits |
|---|---|---|---|
| Red | 70–85°F | Long | Deep color, tannin, body |
| White | 55–65°F | Short/None | Crisp, bright, aromatic |
| Sparkling | 50–60°F | None | Fresh, fruity, bubbly |
Fermentation lasts from a few days to a couple of weeks, depending on temperature, yeast, and the wine type. When the bubbling slows and the sugar is gone, you get your first taste of wine—though it’s still rough around the edges.
Managing Fermentation Problems
Even with care, fermentation can run into problems. Wine is alive during this stage, and a few things can put the brakes on or push things off track.
One big warning sign is a stuck fermentation. This means the yeast stops working before all sugar turns to alcohol. You might notice:
- Bubbling and foam slow or stop early.
- Wine tastes much sweeter than expected.
- Gravity readings (if you check them) don’t drop to zero.
How to fix it? First, check the temperature. Yeast likes a steady, happy range. If it’s too cold, warm up the room or vessel by a few degrees and give things a gentle stir to wake up the yeast.
Low nutrients in the juice might starve the yeast. Adding a pinch of yeast nutrient (from a wine supply store) can help. Make sure the pH isn’t too low or high. Adjust with a small bit of potassium bicarbonate or acid blend if needed.
Off smells can pop up too. Rotten eggs often mean “hydrogen sulfide,” a gas yeast releases under stress. Carefully stirring, adding more nutrients, or racking the wine (moving it to another clean vessel) can help air things out and fix the problem.
Keep your eyes (and nose) open for issues like:
- Sulfur or rotten egg smells: Usually yeast stress, fix with nutrients or a gentle splash of air.
- Vinegar aroma: This means bacteria got in. Clean all your equipment well and work quickly before and after fermentation.
- Film or fuzz on the surface: Could be mold or wild yeast. Skim off what you can, rack the wine and keep it covered.
Staying alert, keeping things clean, and checking temperatures make all the difference. Most home winemakers face at least a hiccup or two. Quick action and common sense are your best tools for guiding your wine from wild fermentation to a clean finish.
Clarification, Aging, and Bottling
After fermentation, what you have is young, cloudy wine that’s still rough around the edges. This stage is about transforming that raw, unsettled liquid into a clear, stable, and tasty drink. You’ll see how winemakers clarify wine, choose how long to let it age, and safely bottle their finished product. Each part is simple but has a real impact on the final glass.
Clarification: Racking, Filtering, and Fining
Young wine holds onto all kinds of leftovers from fermentation, like dead yeast cells (lees), grape bits, and natural haze. Letting wine clear up makes a big difference in both how it tastes and how it looks.
Here are the main ways to clarify wine:
- Racking: This means moving the wine off heavy sediment into a fresh, clean vessel. You do this by siphoning the clear wine and leaving the gunk behind. Most home winemakers rack two or three times before moving on, usually every few months.
- Filtering: When you want crystal-clear wine, you filter it. Simple filters at home can remove fine particles, yeast, and even stray bacteria. Just be gentle, since filtering too hard can strip out flavors.
- Fining: Sometimes, wine just won’t clear on its own. Fining involves adding something like bentonite clay, egg whites, or special agents that grab hold of tiny particles and pull them down to the bottom. Then you rack again and remove the now-clear wine on top.
These steps turn murky, hazy wine into something bright and appealing. Clear wine is not just prettier—clouds often mean trouble later in the bottle.
Aging: How Time and Storage Shape Your Wine
Wine isn’t ready for the bottle right after fermentation. Not yet. Now it’s time to let it rest, develop, and mellow out. Where and how long you age a wine changes its flavors, depth, and smoothness.
Winemakers pick from a few aging options, each with its own effects:
| Storage Type | Common For | Key Effects | Time Frame |
|---|---|---|---|
| Glass Carboy | Whites, young reds | Keeps flavors pure, no new flavors | 2-6 months |
| Stainless Tank | Whites, light reds | Prevents oxygen, keeps wine fresh | Weeks to months |
| Oak Barrel | Reds, some whites | Adds spice, softens texture, allows slow oxygen | 6-24 months |
| Bottle | All types | Smooths out roughness, ties flavors together | Months to years |
Aging in glass or steel keeps wine bright and lets you taste what the grapes bring. In oak, wine picks up spice flavors, along with hints of vanilla and toast. Slow oxygen exposure mellows tannins and softens sharp edges, making red wines smoother.
Most reds benefit from a little time in barrel or bottle before reaching the glass. Whites are often happy with a shorter rest in tank or glass, keeping all those crisp, fruity flavors. Too much aging, though, can flatten even the best wine, so balance matters.
![]()
Bottling: Knowing When Your Wine Is Ready
Bottling is the final, satisfying step. Before you fill even one bottle, your wine should be clear, stable, and taste the way you like.
How do you know when it’s time?
- Wine is completely clear with no drifting haze or sediment settling again.
- No more gas or bubbles rise when you taste it.
- The flavors are balanced, without off smells or harsh edges.
Home winemakers often wait at least three to six months from the end of fermentation. Reds commonly need longer, especially if they’ve sat in oak barrels.
Quick and Safe Bottling Tips for Home Winemakers
Cleanliness is key when bottling wine at home. Any leftover germs or dirt can spoil a whole batch. Here are tips to keep your wine safe in the bottle:
- Always sanitize bottles, corks, and any gear (funnels, hoses, corkers) before you fill.
- Taste the wine again before bottling to catch any last-minute changes.
- Fill bottles to within an inch of the cork to limit air and slow spoilage.
- Use fresh, quality corks and double-check each is tight.
- Label and date each bottle. You’ll never remember which batch is which in a year.
Paying attention to these details delivers clear, stable, and ready-to-drink wine that you can enjoy (and share) with confidence.
Conclusion
Winemaking takes patience and attention, whether you do it at home or admire it from the glass. Each stage, from picking grapes to bottling, shapes the flavors and textures that show up in every sip. Taking the time to make wine teaches respect for the small steps and choices that make each batch unique.
If you feel curious, try making a small batch. You do not need special tools or a vineyard to get started. Even the simple act of learning about the process helps you connect to the work and heart behind each bottle.
Thanks for reading. Share your own wine stories or questions in the comments and keep discovering what goes into every pour.